Why AI Is the Best Tool for Designing Your First Tattoo
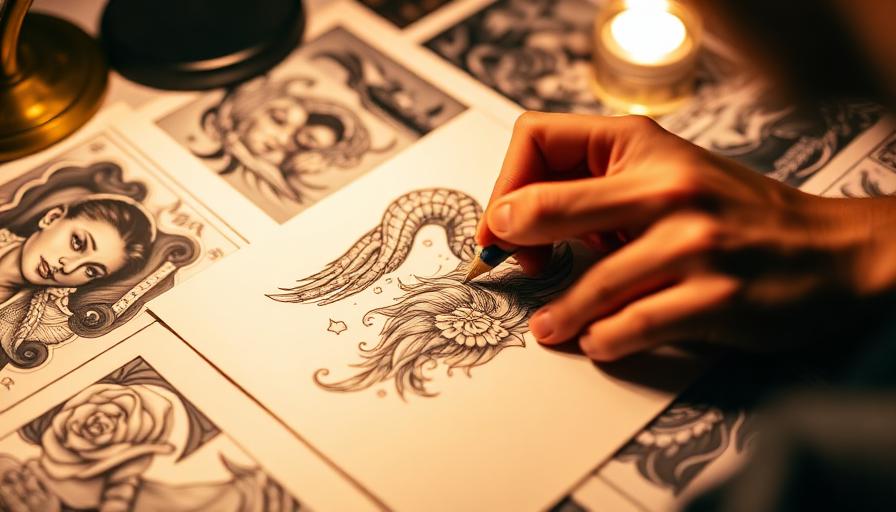
Designing your first tattoo can feel paralyzing. There are millions of designs online, hundreds of styles to choose from, and the permanent nature of the decision makes every choice feel impossibly heavy. AI changes that math entirely. Instead of trying to find a tattoo someone else made that matches what you have in your head, you can describe what you want and see it within seconds. You can iterate freely, try ten directions before lunch, and walk into your artist's studio with a design that is already deeply personal.
This guide walks you through the exact process we recommend for first-timers. It is not just about how to use the software — it is about how to think about your first tattoo so that the design you end up with is one you will love at 25, 45, and 75. By the end you will have a clear mental model and a concrete checklist to take from idea to inked.
Step 1: Start With Meaning, Not With Pictures
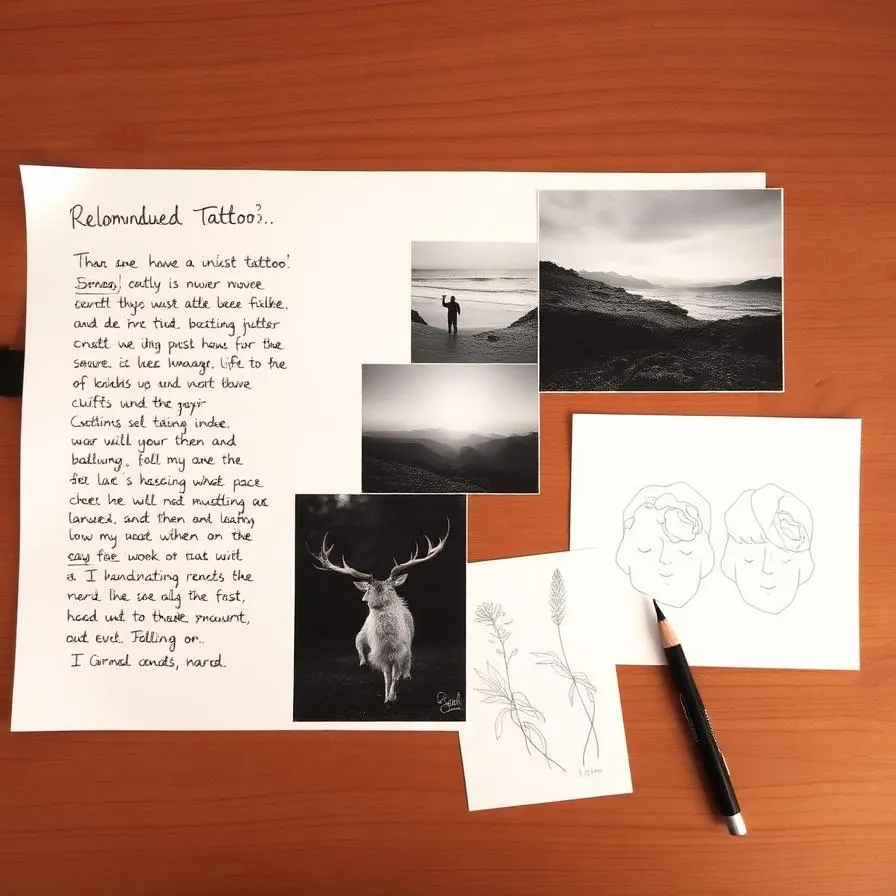
The most common mistake first-timers make is starting with images. They scroll Pinterest, save fifty designs, and then try to mash them together. The result is usually a tattoo that looks like every other Pinterest tattoo and that fades from meaningful to forgettable within a year. Start instead with a written brief. Open a note on your phone and answer three questions: Why do I want a tattoo right now? What am I trying to remember, honor, or celebrate? What feeling do I want to have when I look at it?
Your answers don't have to be profound. "I love the ocean and I want a piece of it on me" is a perfectly good brief. "This represents the year I finally moved out" is too. The point is to anchor the design in something real before you let the visuals take over. From those answers, pull out 3–5 keywords. Those keywords become the seed of every prompt you write later.
Step 2: Choose a Style That Matches Your Aesthetic
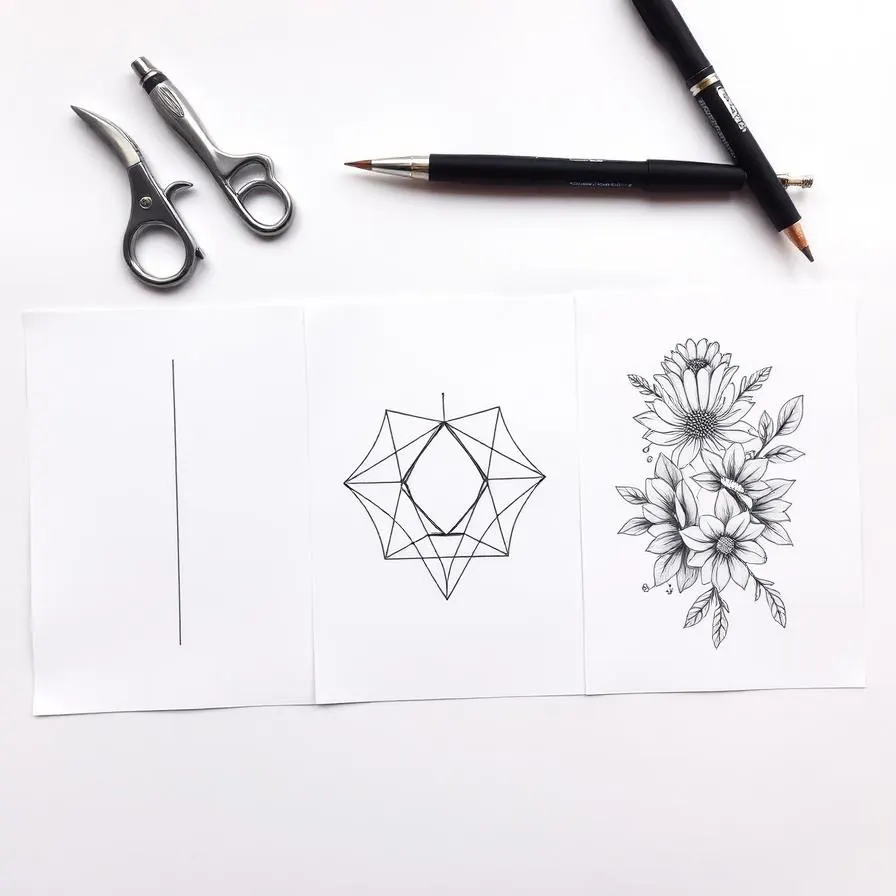
Once you know what your tattoo is about, the next decision is how it should look. Tattoo styles are not interchangeable — a minimalist single-line wave and a traditional Japanese wave carry completely different energy, even though both depict the same subject. Browse a curated reference rather than the algorithmic chaos of Pinterest. Our complete guide to tattoo styles breaks down the major categories with visual examples, and individual style pages like fine line, geometric, and watercolor go deeper.
For a first tattoo, three styles tend to be especially forgiving: minimalist, fine line, and small blackwork. They are quick, affordable, age well, and look intentional even when small. That doesn't mean you have to start there — but if you are nervous about commitment, these styles let you dip your toe without diving in.
Style Matching Cheat Sheet
Want delicate, subtle, often hidden? Try minimalist or fine line. Want bold, graphic, statement-making? Try traditional or blackwork. Want painterly and colorful? Try watercolor or neo-traditional. Want hyper-realistic detail? Try black-and-grey realism. Pick one direction before you start prompting — designs in mixed styles rarely come out cohesive.
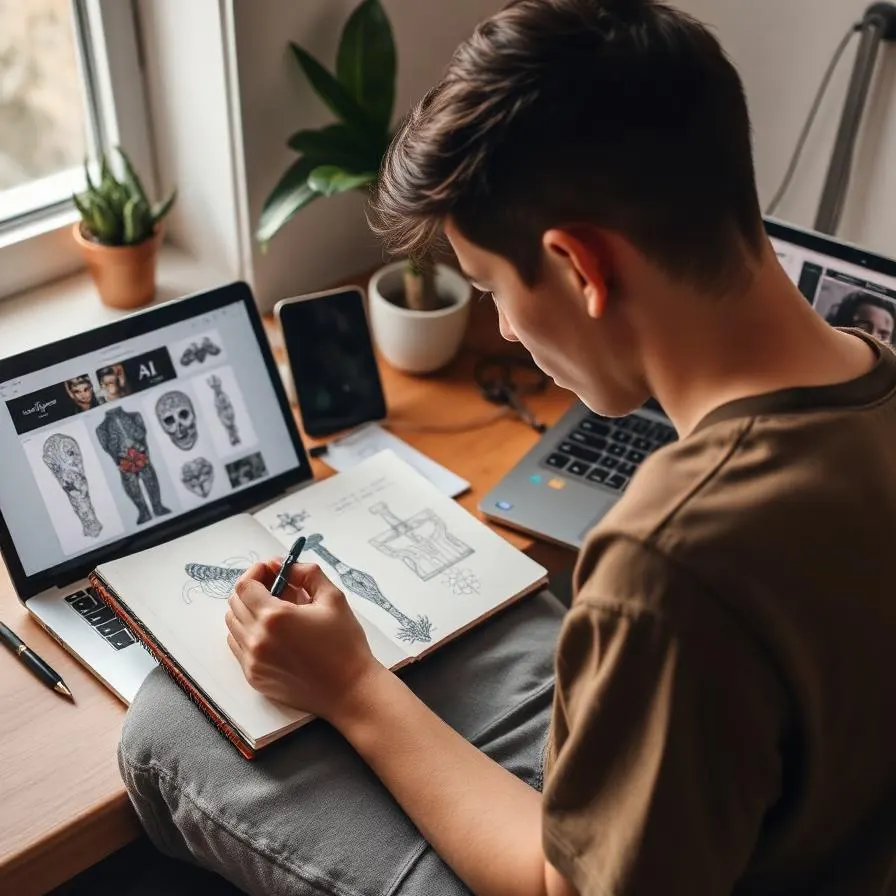
Step 3: Write a Prompt That Actually Works
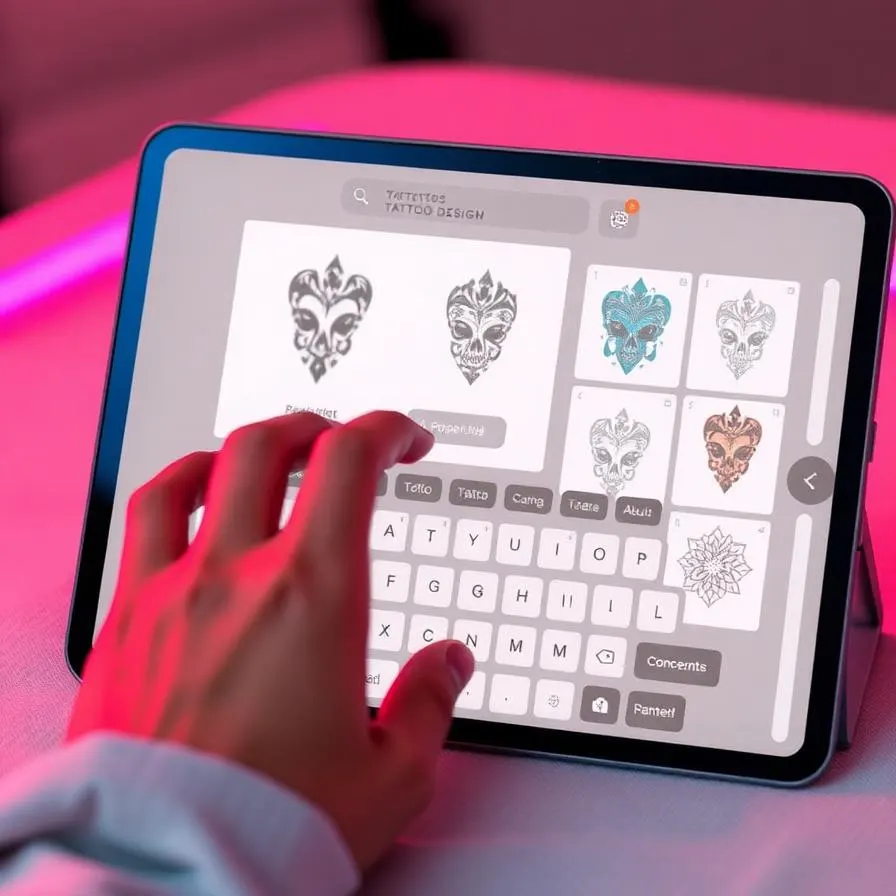
The single biggest factor in AI tattoo quality is your prompt. Bad prompts produce generic, unusable output no matter how good the model is. A good tattoo prompt has five ingredients: subject, style, composition, color treatment, and intended placement. Combine them and you get something the AI can actually visualize. Compare these two:
Bad: "wolf tattoo". Good: "a geometric wolf face inside a triangle with a mountain range silhouette behind it, fine line style, black ink only, clean white background, designed to fit the inner forearm, 4 inches tall, balanced composition". The second prompt gives the model enough constraints to produce something coherent — and the result is dramatically better.
5 Prompt Templates You Can Steal
1. Minimalist symbol: "a [subject] in single continuous line style, black ink, white background, minimalist, designed for the inner wrist." 2. Fine line nature: "a delicate [flower/plant] in fine line style with subtle shading, black ink, designed to flow along the forearm." 3. Geometric: "a [animal] face stylized with geometric shapes and sacred geometry, blackwork, white background, designed for the upper arm." 4. Traditional: "a [subject] in American traditional style with bold outlines, classic color palette, designed for the bicep." 5. Watercolor: "a [subject] in watercolor style with paint splashes and color drips, vibrant palette, designed for the shoulder."
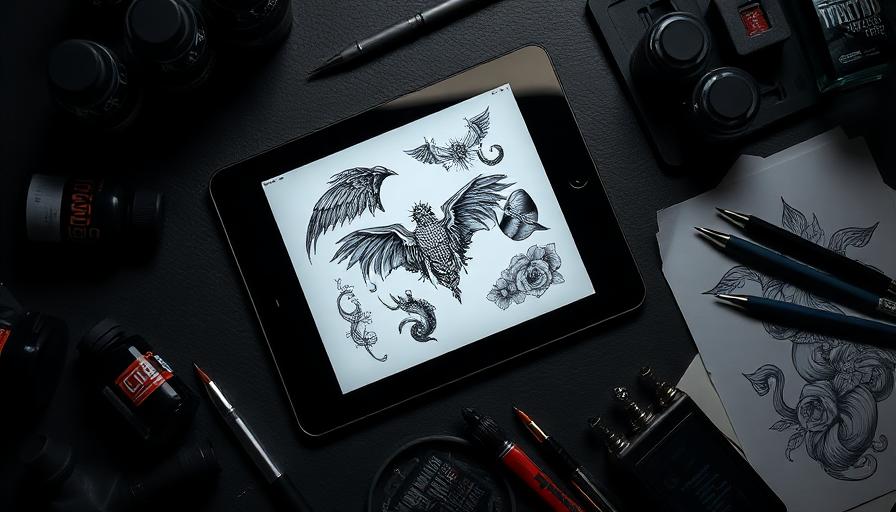
Step 4: Iterate Like a Pro
Your first generation will rarely be your final design — and that is a feature, not a bug. The whole power of AI is that iterating costs you seconds and pennies instead of hours and dollars. Set yourself a budget of at least 10 generations before you decide on a direction. Treat the first three as exploration: are you in the right style? Is the composition reading the way you want? Treat the next five as refinement: tighten the prompt, swap one element, change color treatment. Treat the last two as polish: lock in your favorite and generate variations to find the absolute best version.
When something is close but not right, change one thing at a time. If you change the subject, style, and color in one prompt, you have no idea which change made the difference. Disciplined iteration gets you to a design you love far faster than throwing spaghetti at the wall.
Step 5: Test Size, Placement, and Color
A design that looks perfect at 1000 pixels on screen can fall apart at 2 inches on skin. Before you commit, test your design at the actual size you plan to get it. Print it on paper at the real dimensions and tape it to your body. Walk around with it for a day. Look at it in the mirror, in photos, from different angles. This simple step has saved countless first-timers from regret.
Color is the other variable that surprises first-timers. Black ink ages best and holds detail longest. Color is gorgeous when fresh but requires more touch-ups over the years. For a first tattoo, especially in a visible spot, many artists recommend starting with black or black-and-grey. You can always add color in a future session.
Step 6: Preview It on Your Skin
Modern AI tattoo platforms include skin preview tools that let you upload a photo of the body part you are tattooing and see your design rendered in place. This is far more useful than printing on paper because you can see how the design interacts with your specific skin tone, body contours, and existing marks. If your tool offers it, use it. Try the design at multiple sizes and angles before locking in.
Step 7: Bring It to Your Artist the Right Way

Once you have a design you love, your job is to present it to your artist as inspiration, not as a final spec. Send the AI design along with your written brief — the keywords from Step 1 — so they understand what the design means to you. Be explicit about what is essential (the subject, the rough composition) and what is flexible (line weights, exact proportions, small details). A good artist will tighten the design for your anatomy, advise on placement, and adjust elements that won't age well.
Trust their expertise. They know things about ink, skin, and time that no AI does. The best outcomes come from collaboration: your concept, your AI exploration, their craft.
Common Beginner Mistakes to Avoid
A few traps catch first-timers over and over. Don't pick a design just because it is trendy on TikTok this month — trends fade and tattoos don't. Don't over-detail; tiny intricate elements blur over time. Don't get the same tattoo as your friend or partner unless you have thought about it for at least six months. Don't skip the consultation just because you have an AI design — your artist's eyes on the placement and composition will catch issues you can't see. And don't rush. The 24 hours between "I love this design" and "I am sitting in the chair" should feel exciting, not anxious. If they feel anxious, sleep on it another week.
Frequently Asked Questions
Ready to Create Your Own Design?
Generate a custom AI tattoo design in seconds — no signup needed to preview.
Related Articles
Best AI Tattoo Generators in 2025 — Complete Comparison
We spent weeks testing every major AI tattoo generator. Here is the honest, side-by-side comparison no other roundup will give you.

Complete Guide to Tattoo Styles — 10 Major Styles Explained
An honest, in-depth breakdown of the 10 major tattoo styles — their roots, what they look like, what they cost, and how they age.
30 Best First Tattoo Ideas for Beginners (2026)
Getting your first tattoo is a major milestone, and this guide provides over 30 beginner-friendly ideas to ensure your first ink is a masterpiece.